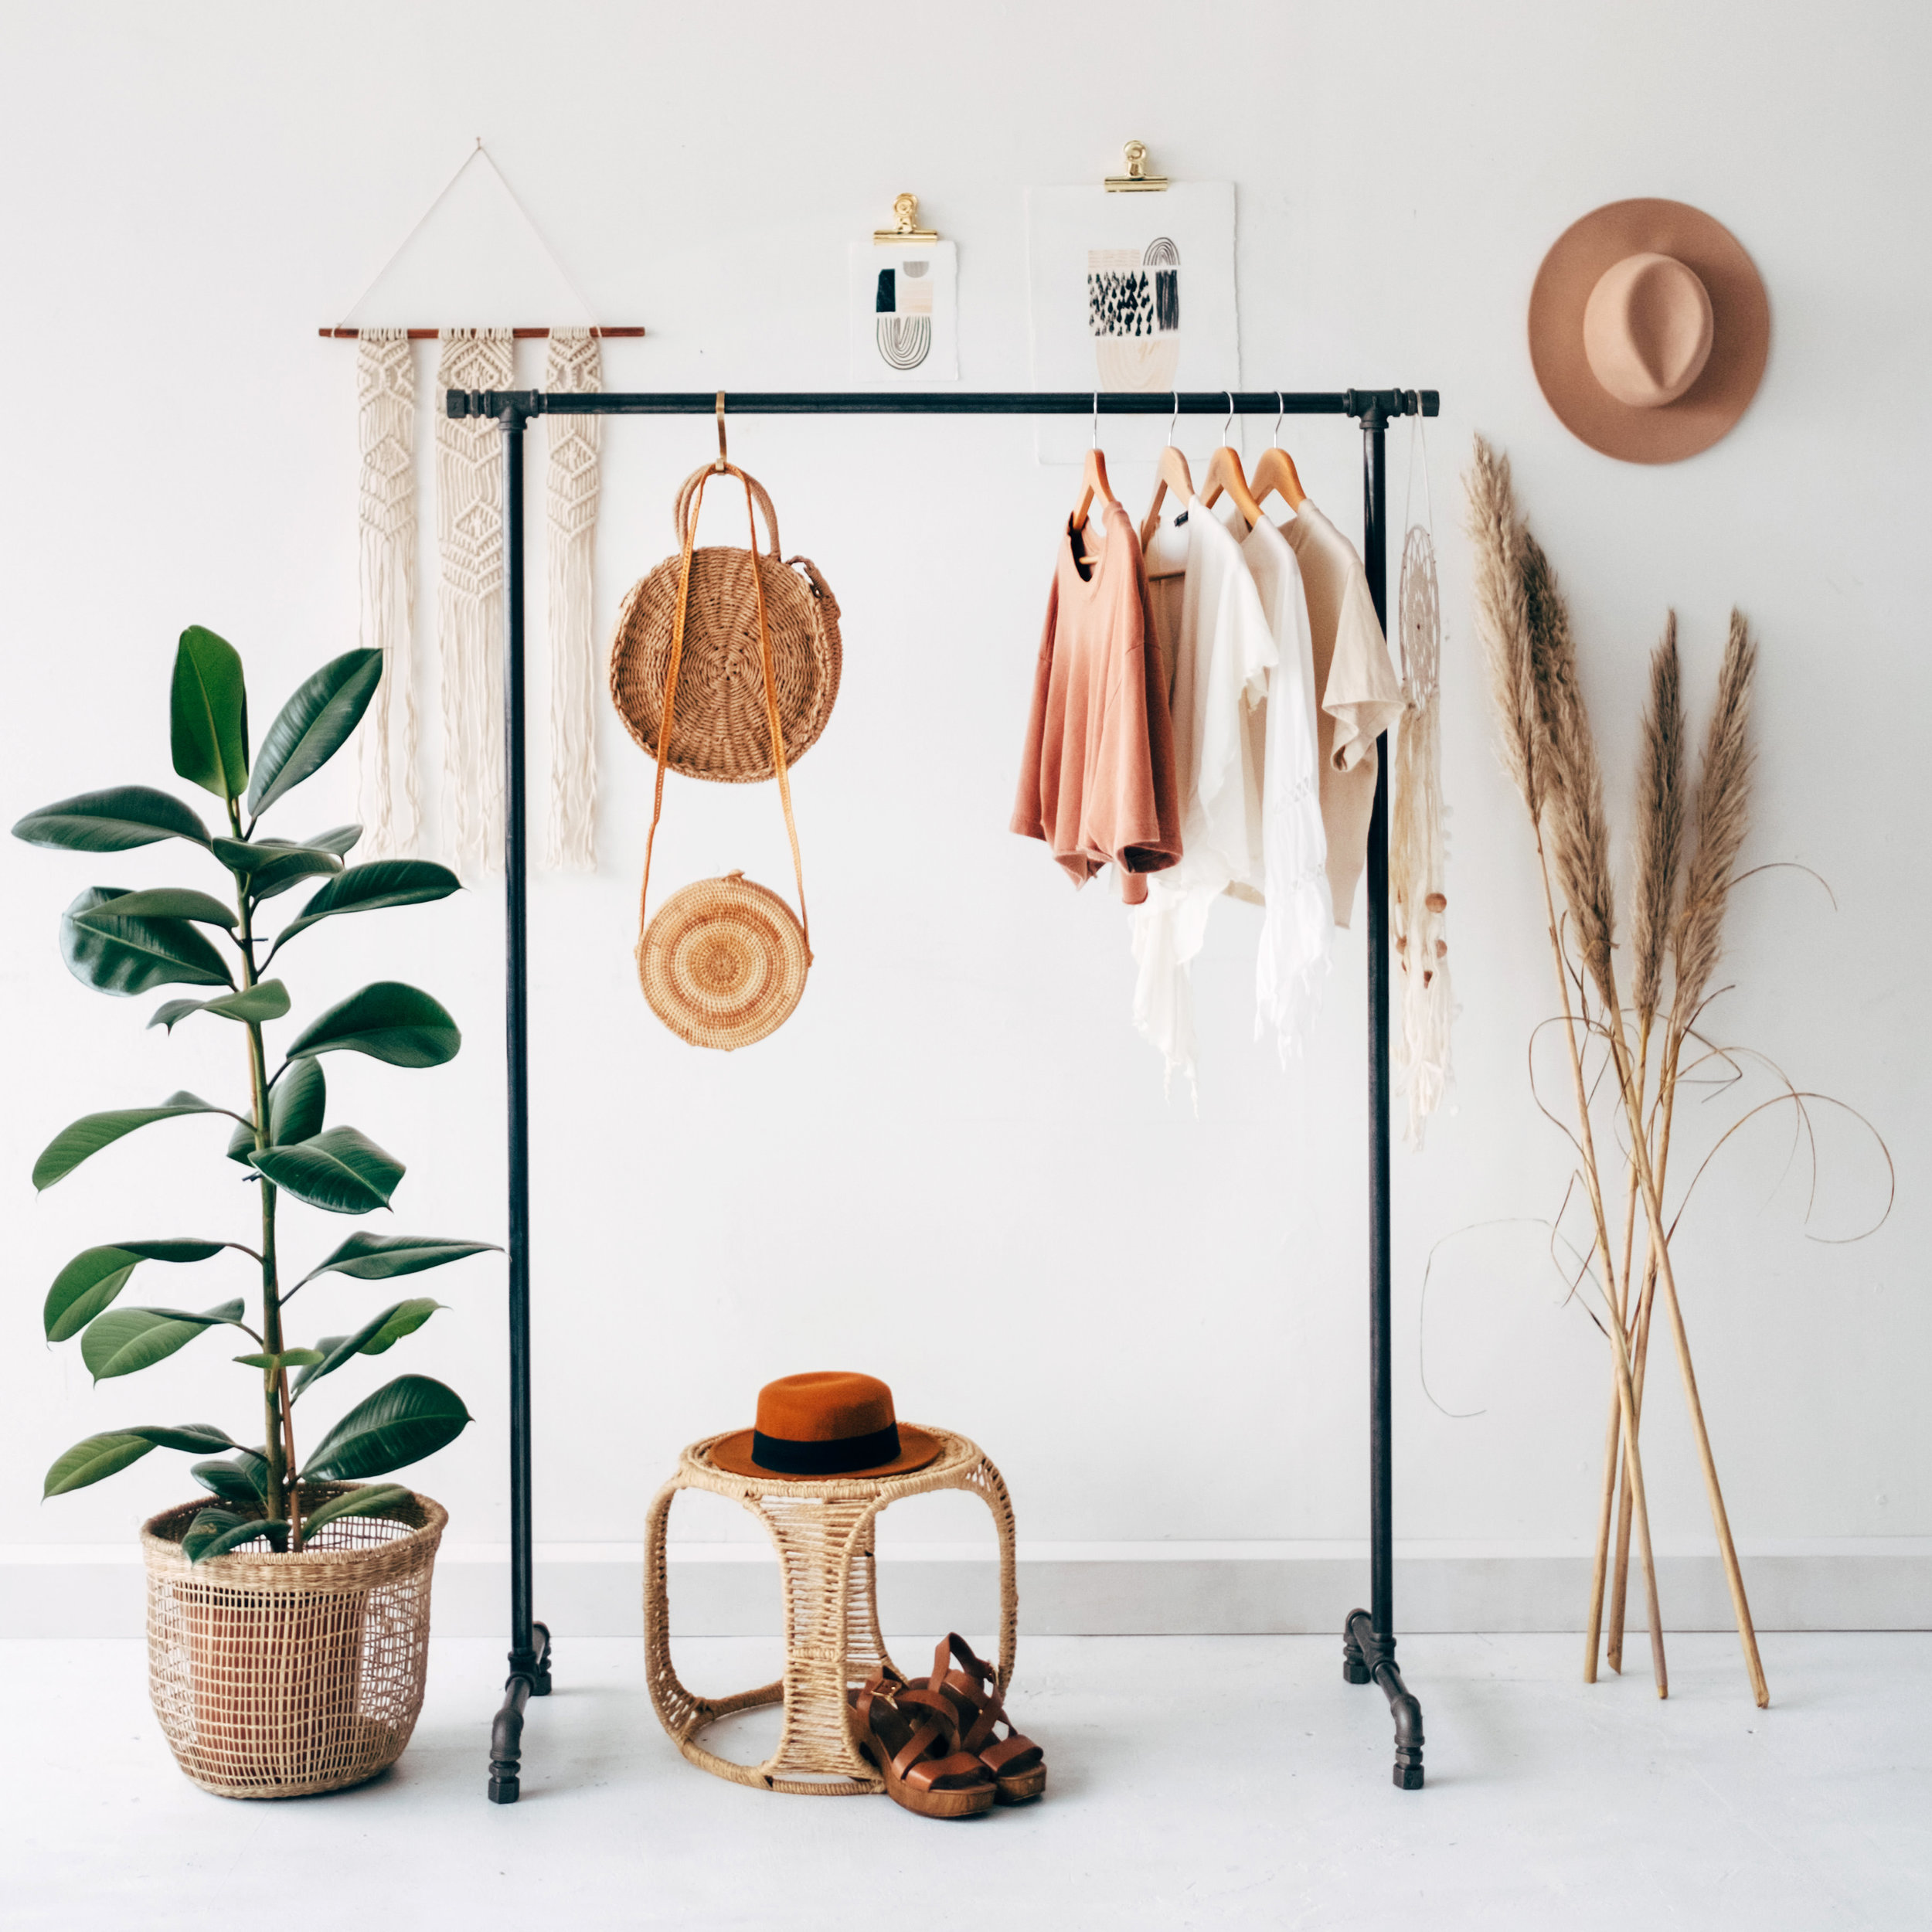
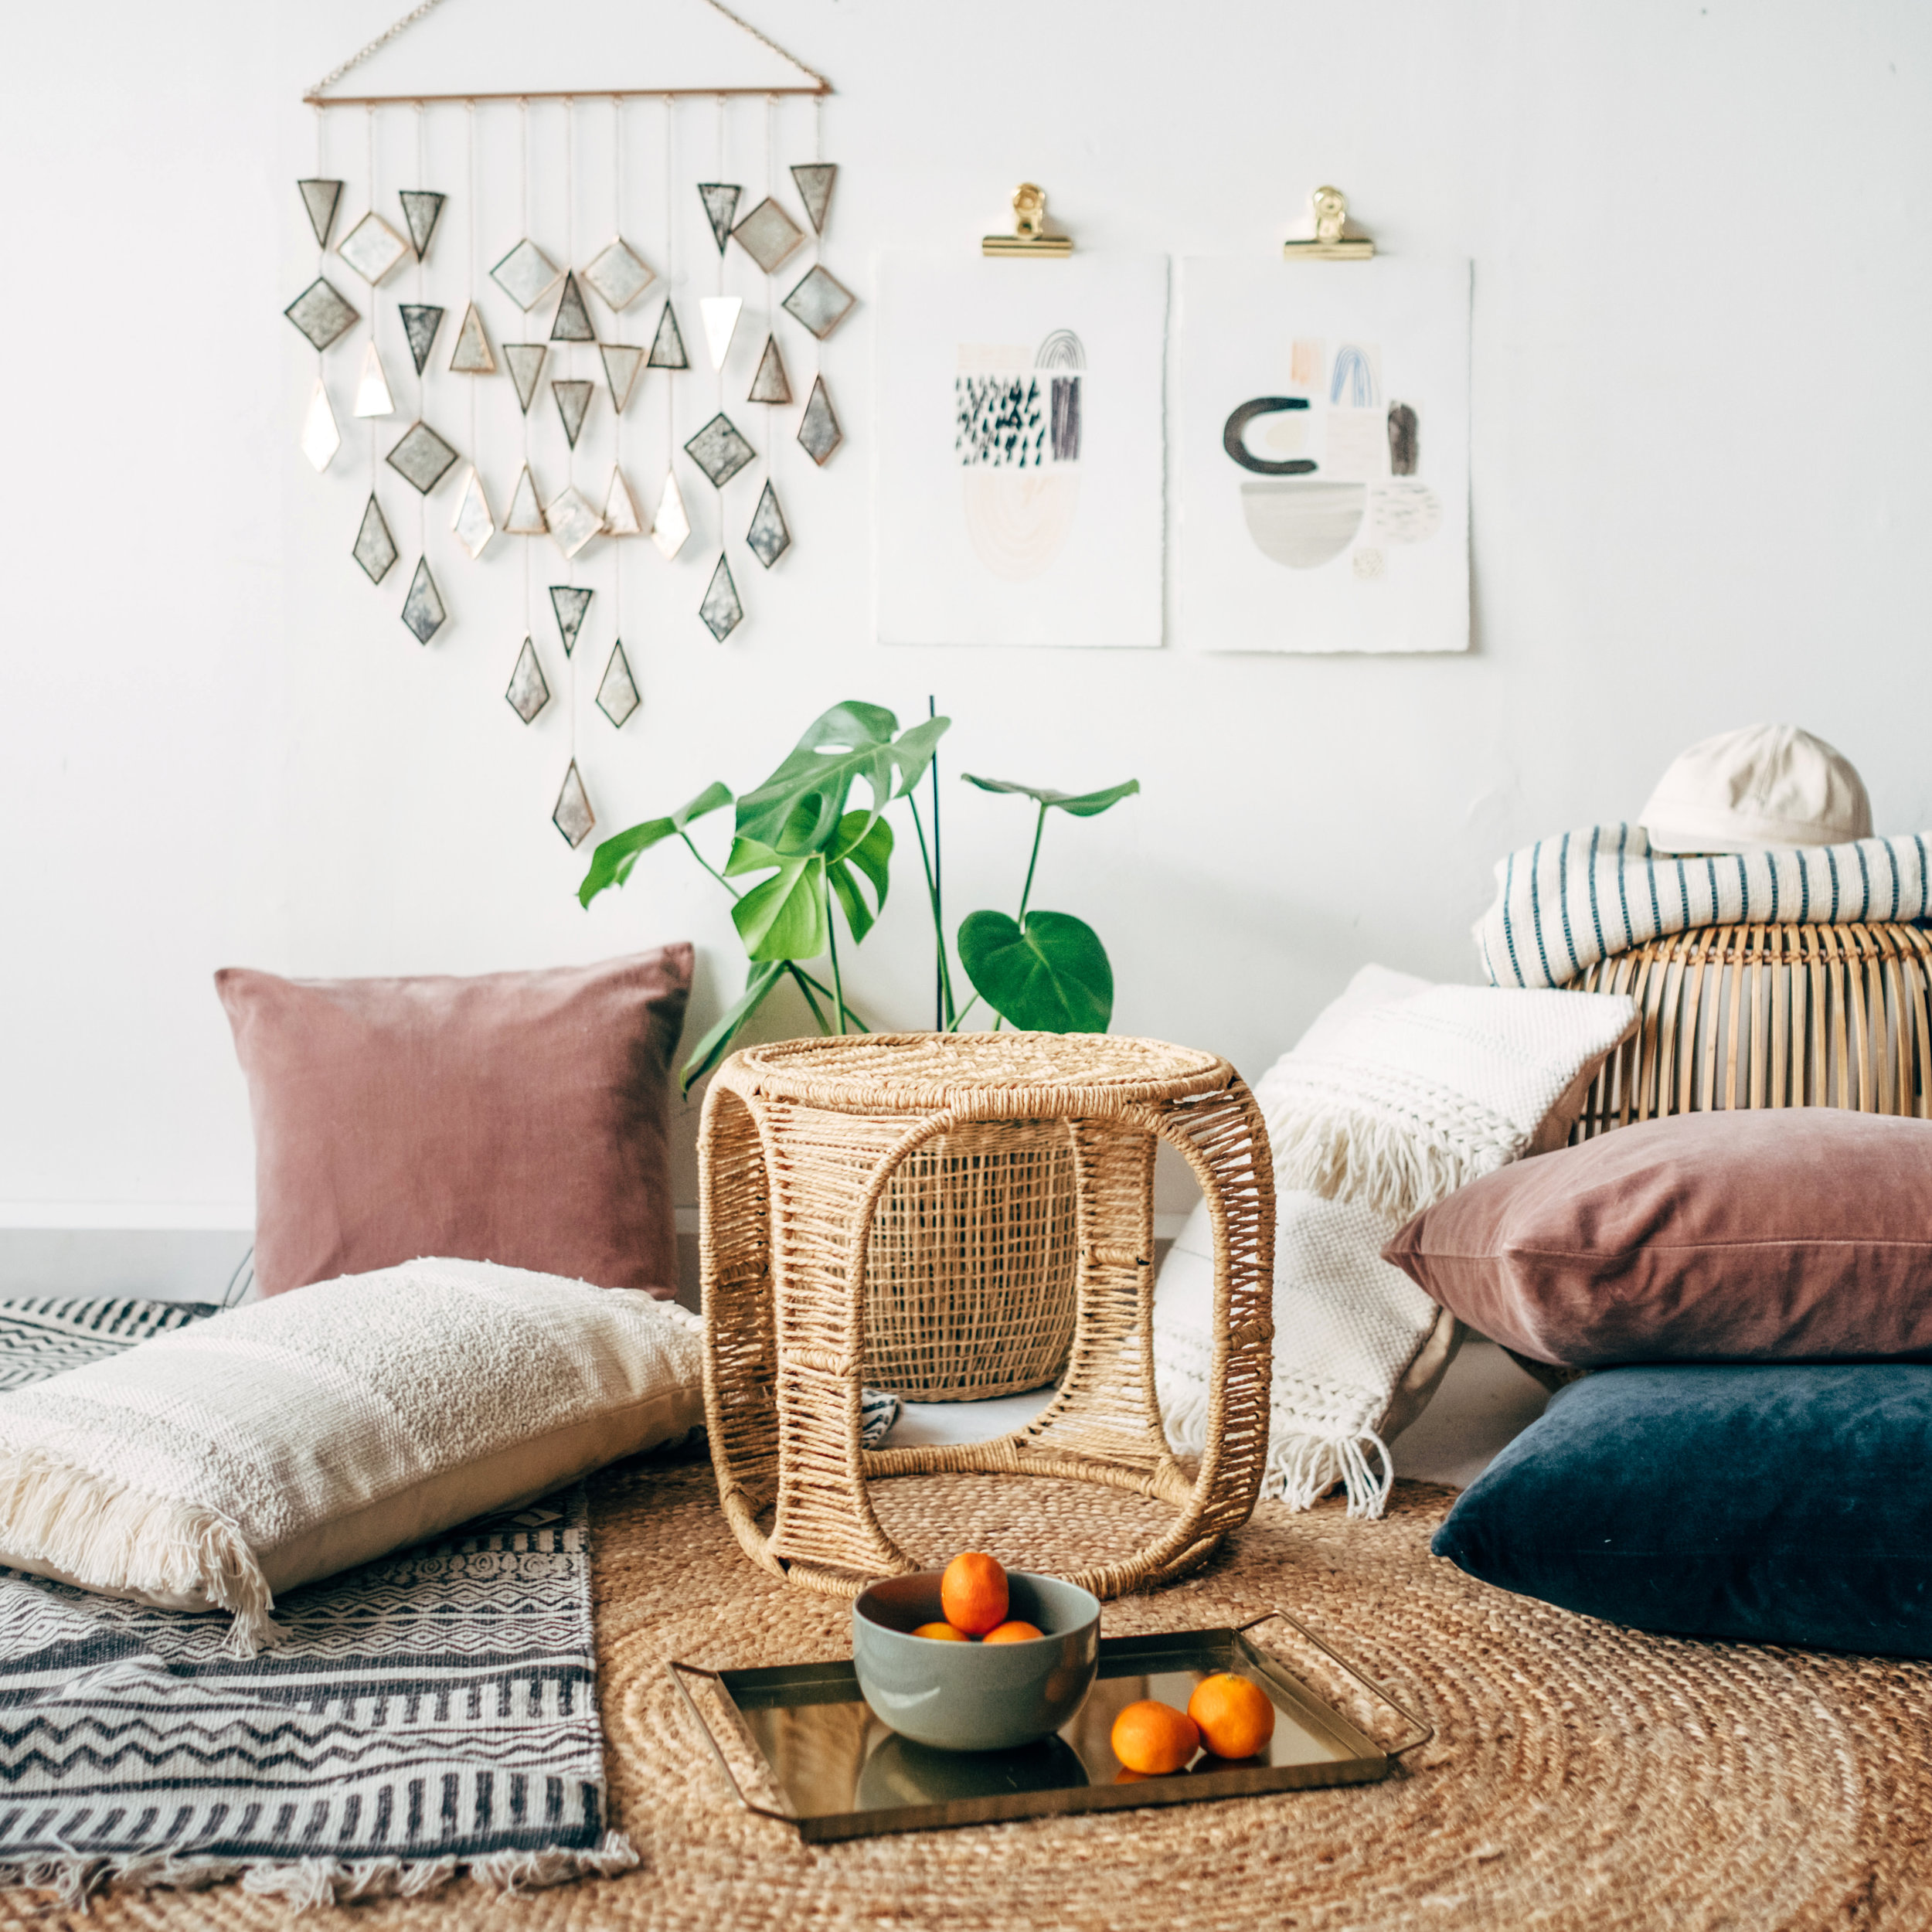
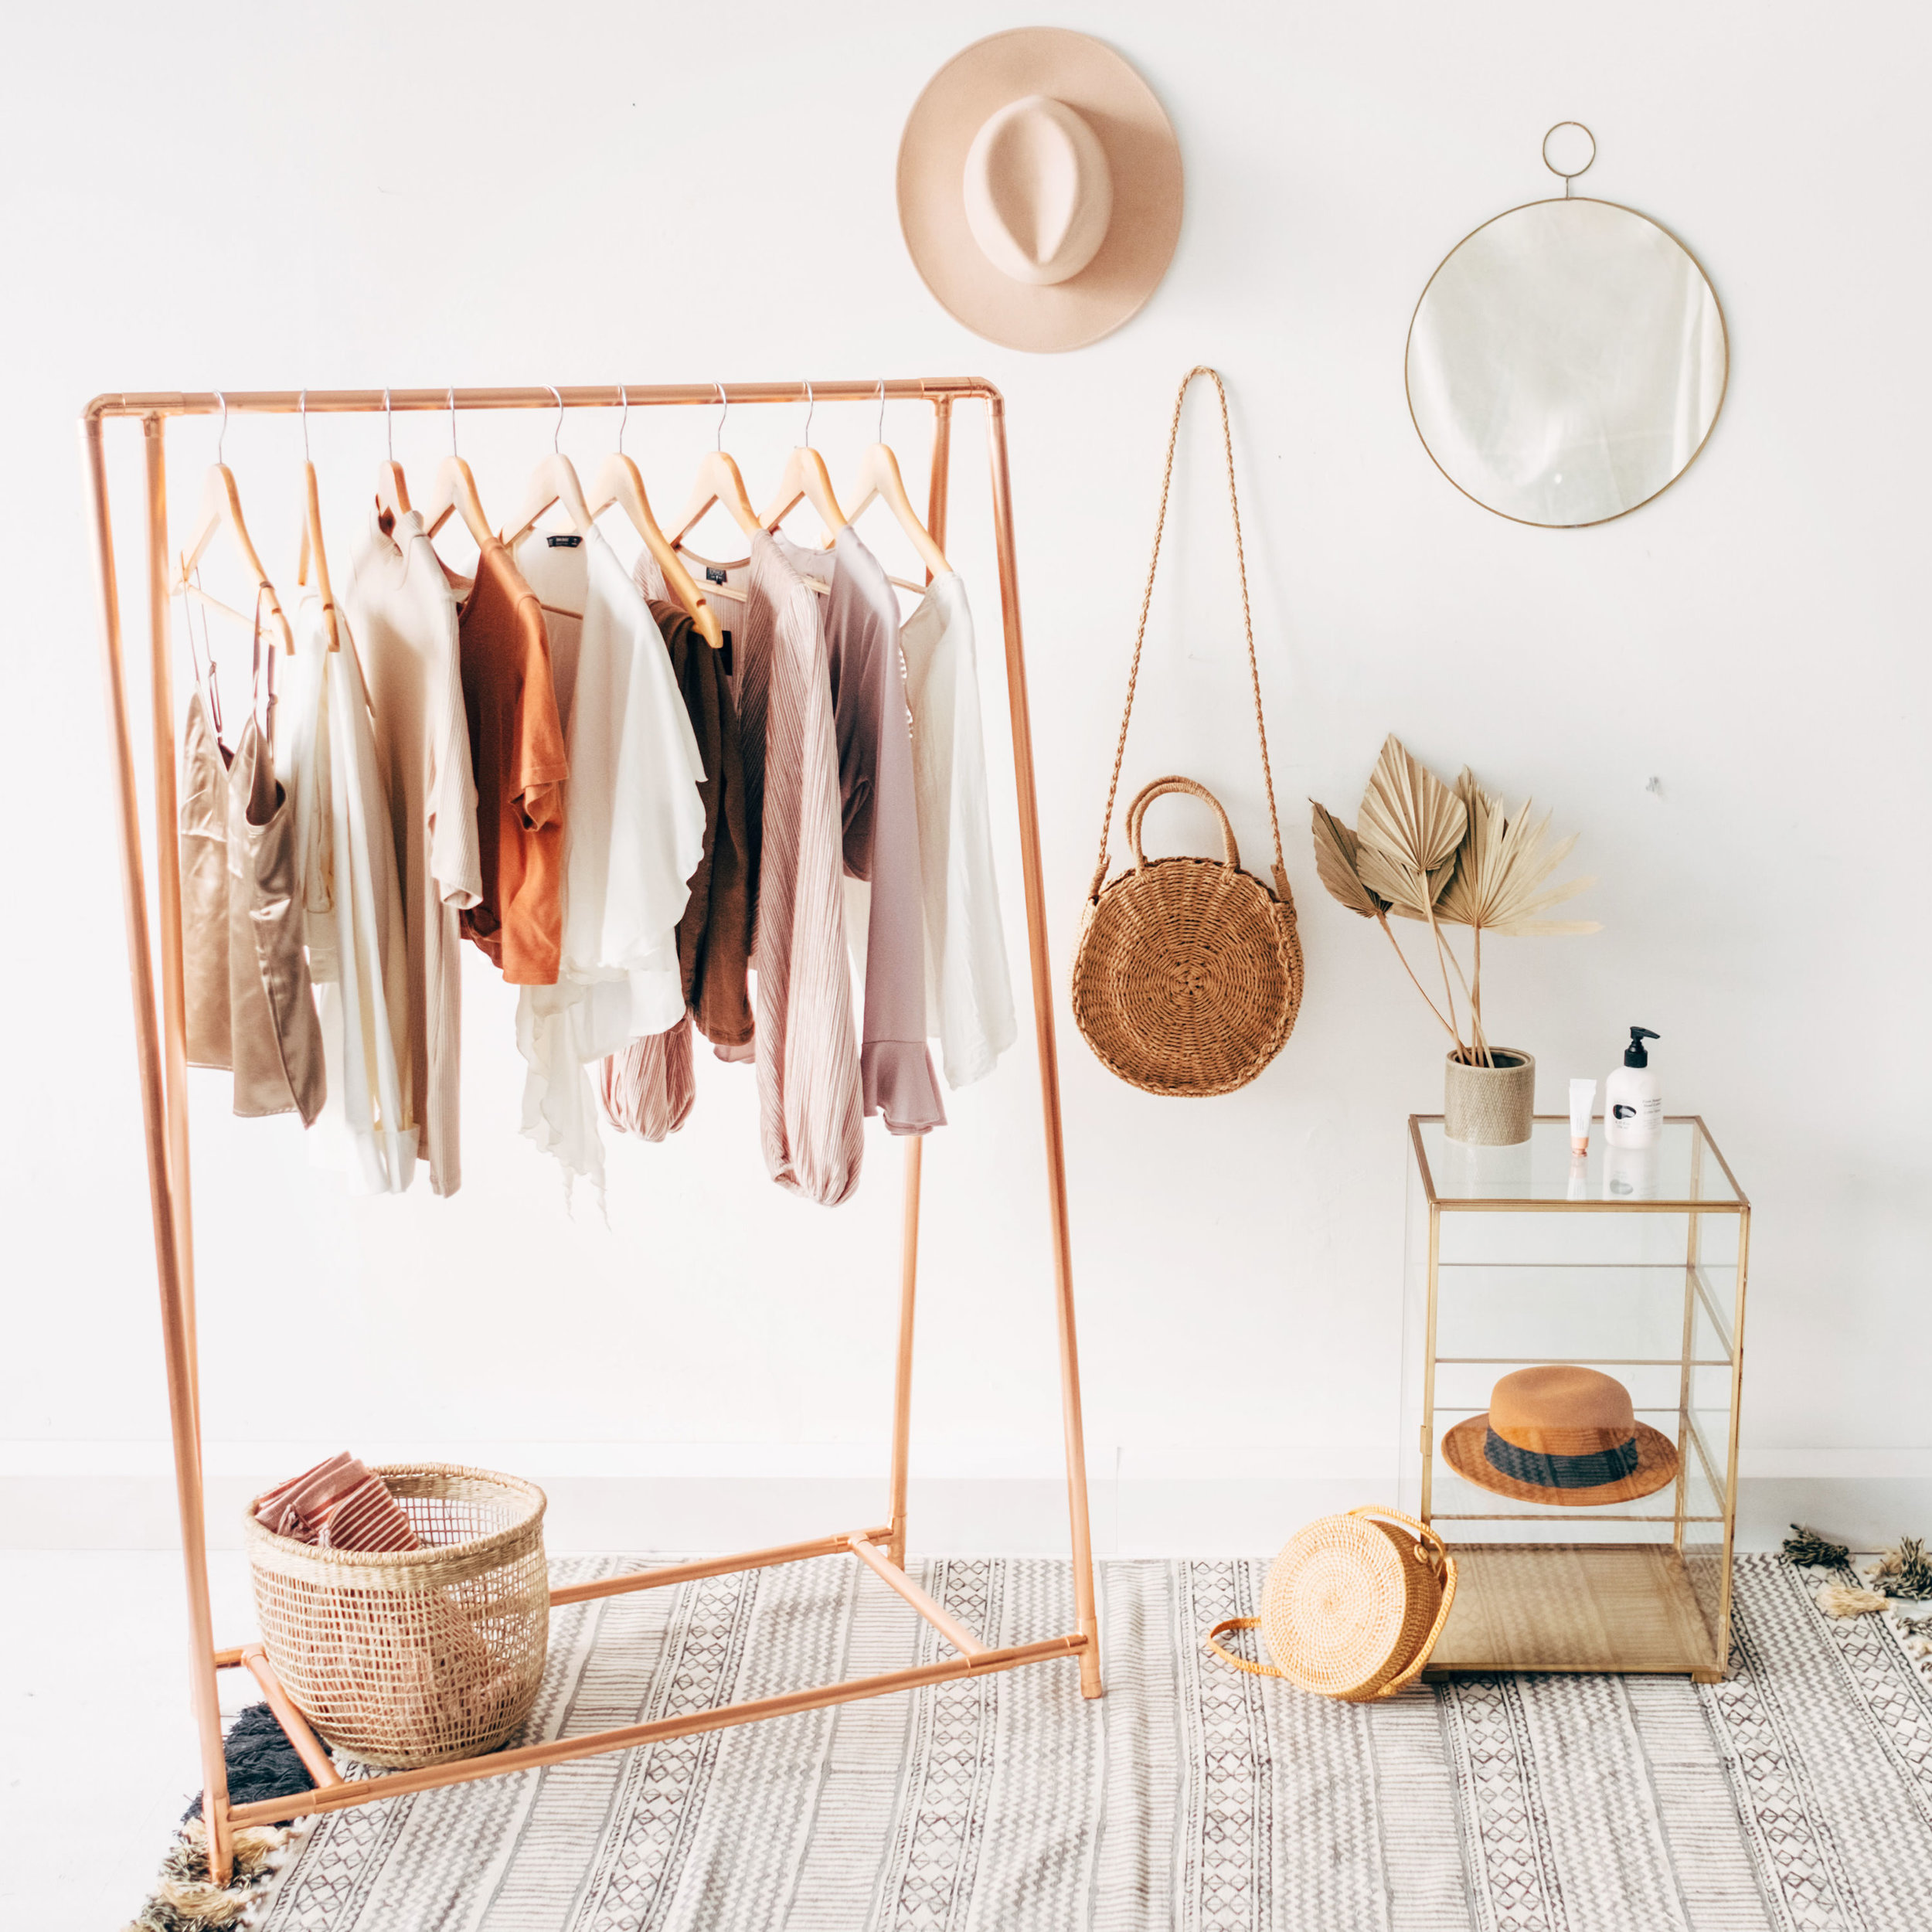
My introduction into Styling/ Assisting.
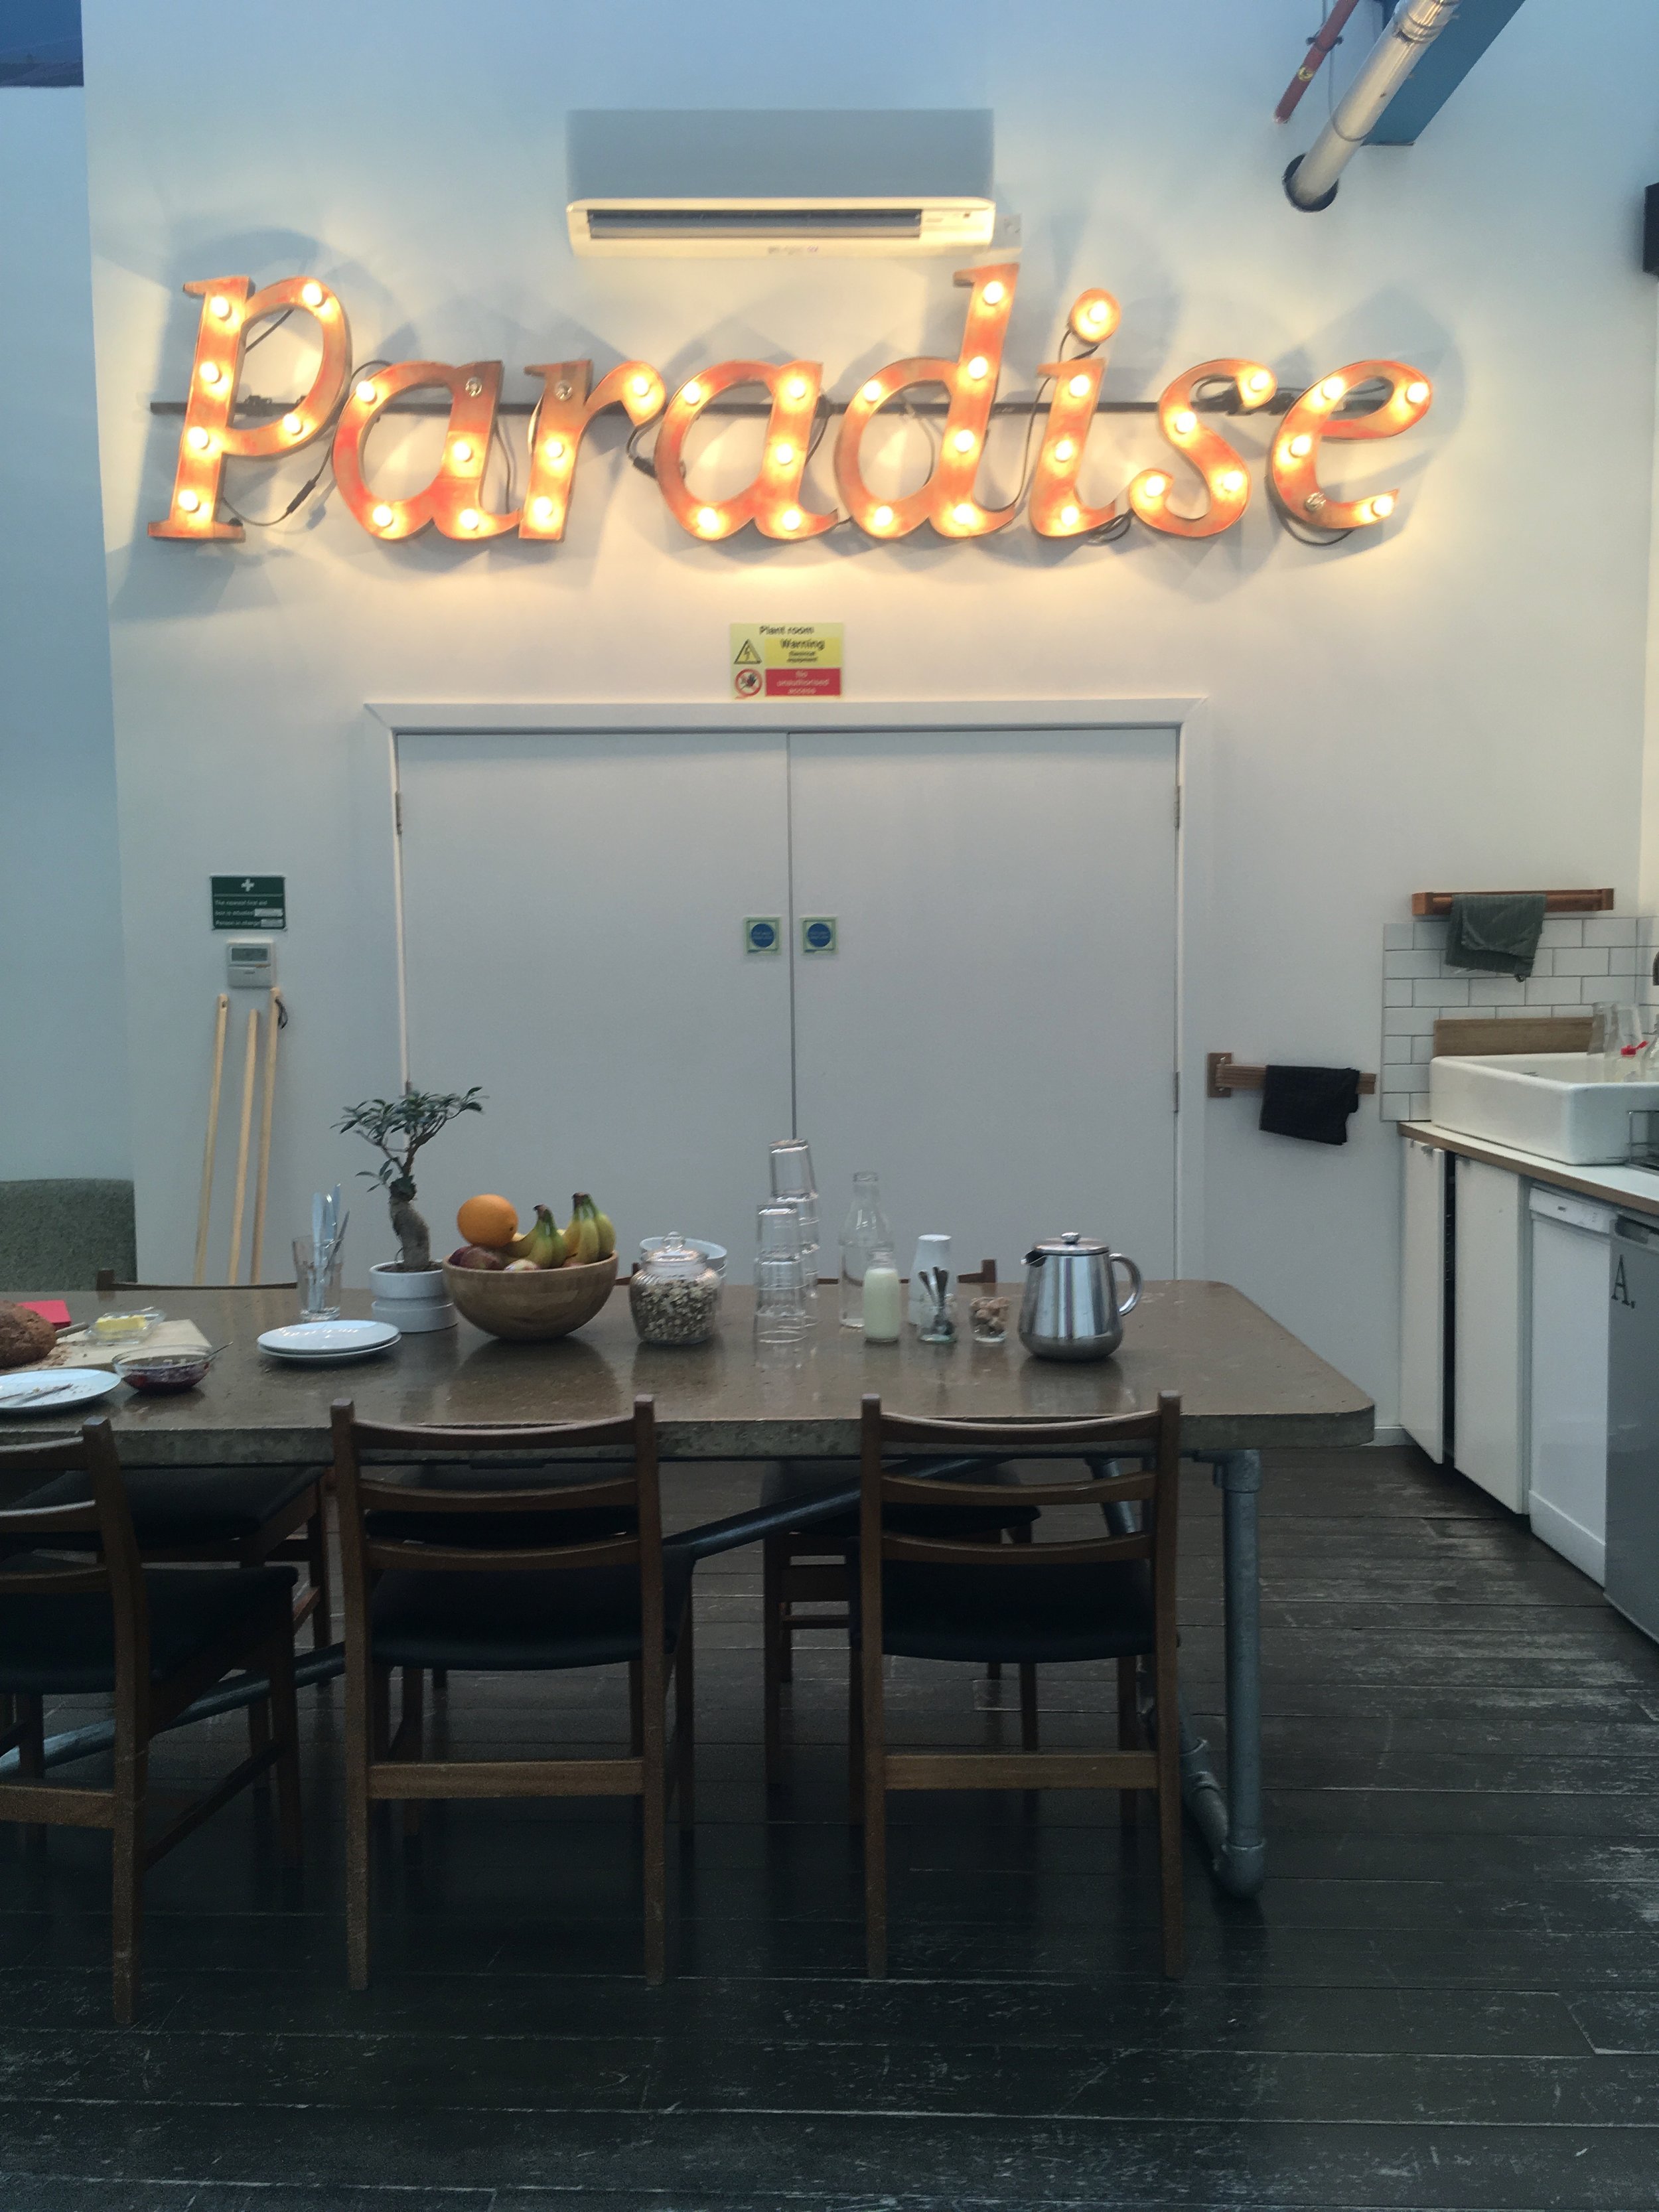
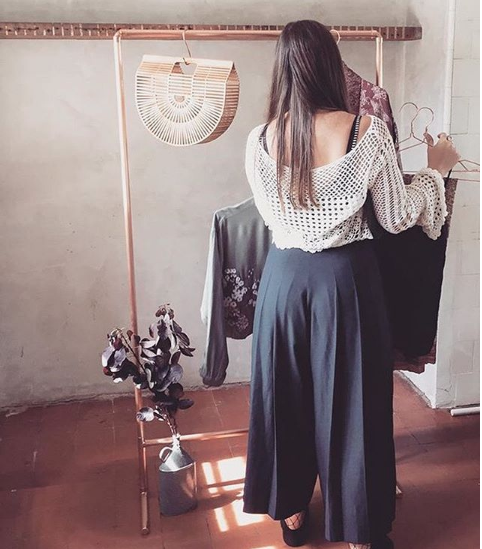
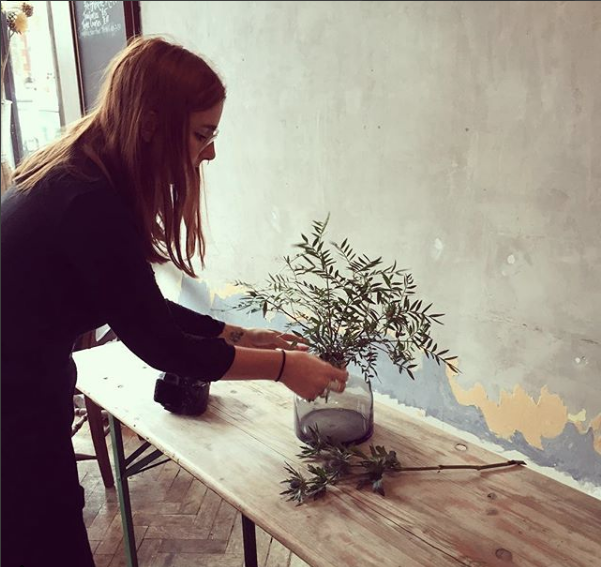
I've only been styling for 6 months and I love it so so much. It's a fast paced industry with means it's super challenging to keep up but I just thrive in this sort of environment, It certainly keep you on your toes! Above are a few set ups I styled for the last shoot with The Little Deer.
How I got into Styling:
I have been lucky enough to work for a company called The Little Deer now for a year, and it's in this job that I discovered that I wanted to be an Interiors Stylist. I was helping out on a shoot with Jade (The owner of LD) and I just started "faffing" with the props. I was supposed to be there to help un pack and organise the props but I just ended up styling the photoshoot. I didn't even realise that I could do it before that moment. I'm so grateful that Jade just let me loose on set and just let me get on with it, so if you are reading this Jade - A massive thank you!! Ok, enough of the sloppy stuff, lets get down to it.
So what I have learnt so far about styling is:
- You have to be organised and focused.
- Be a yes man, get the job done, don't ask too many questions, just use your initiative.
- Always make sure everyone is well fed and always has a drink.
- Bring you're own tool kit.
- Be bulls-y and just contact people that you admire and ask to work with them.
- Know your flowers from your foliage.
- Take pictures of everything!
Lesson one:
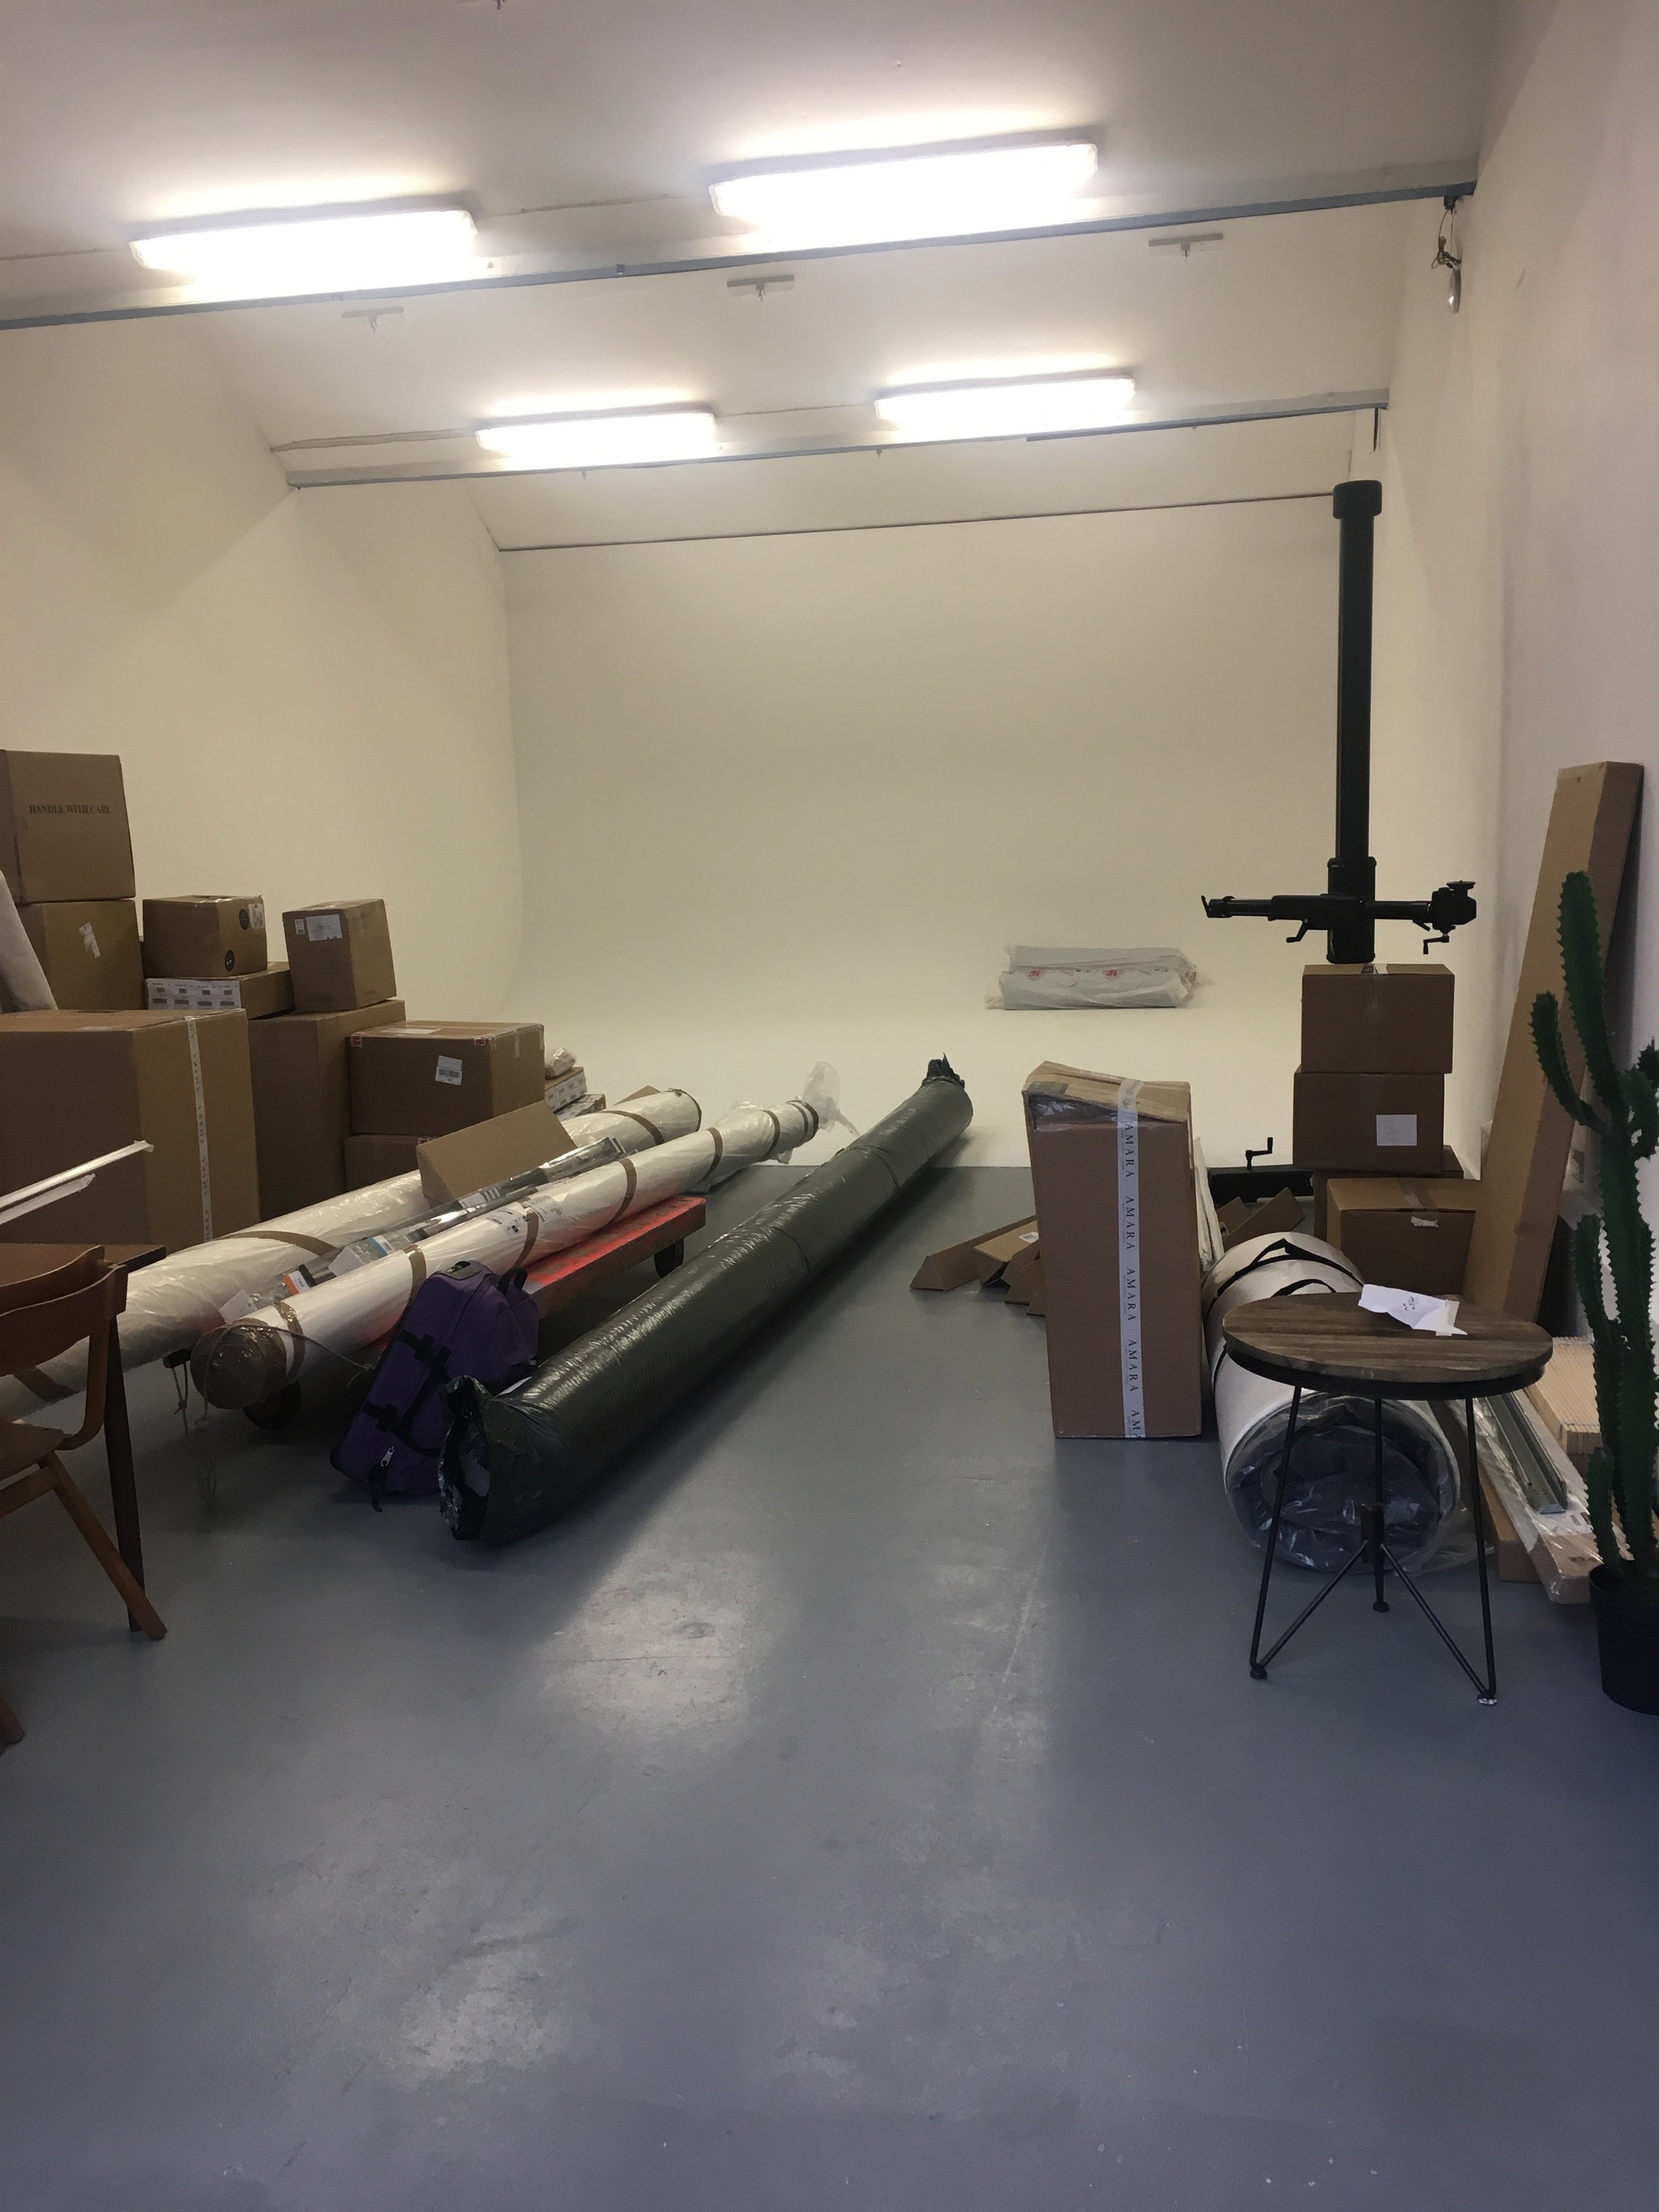
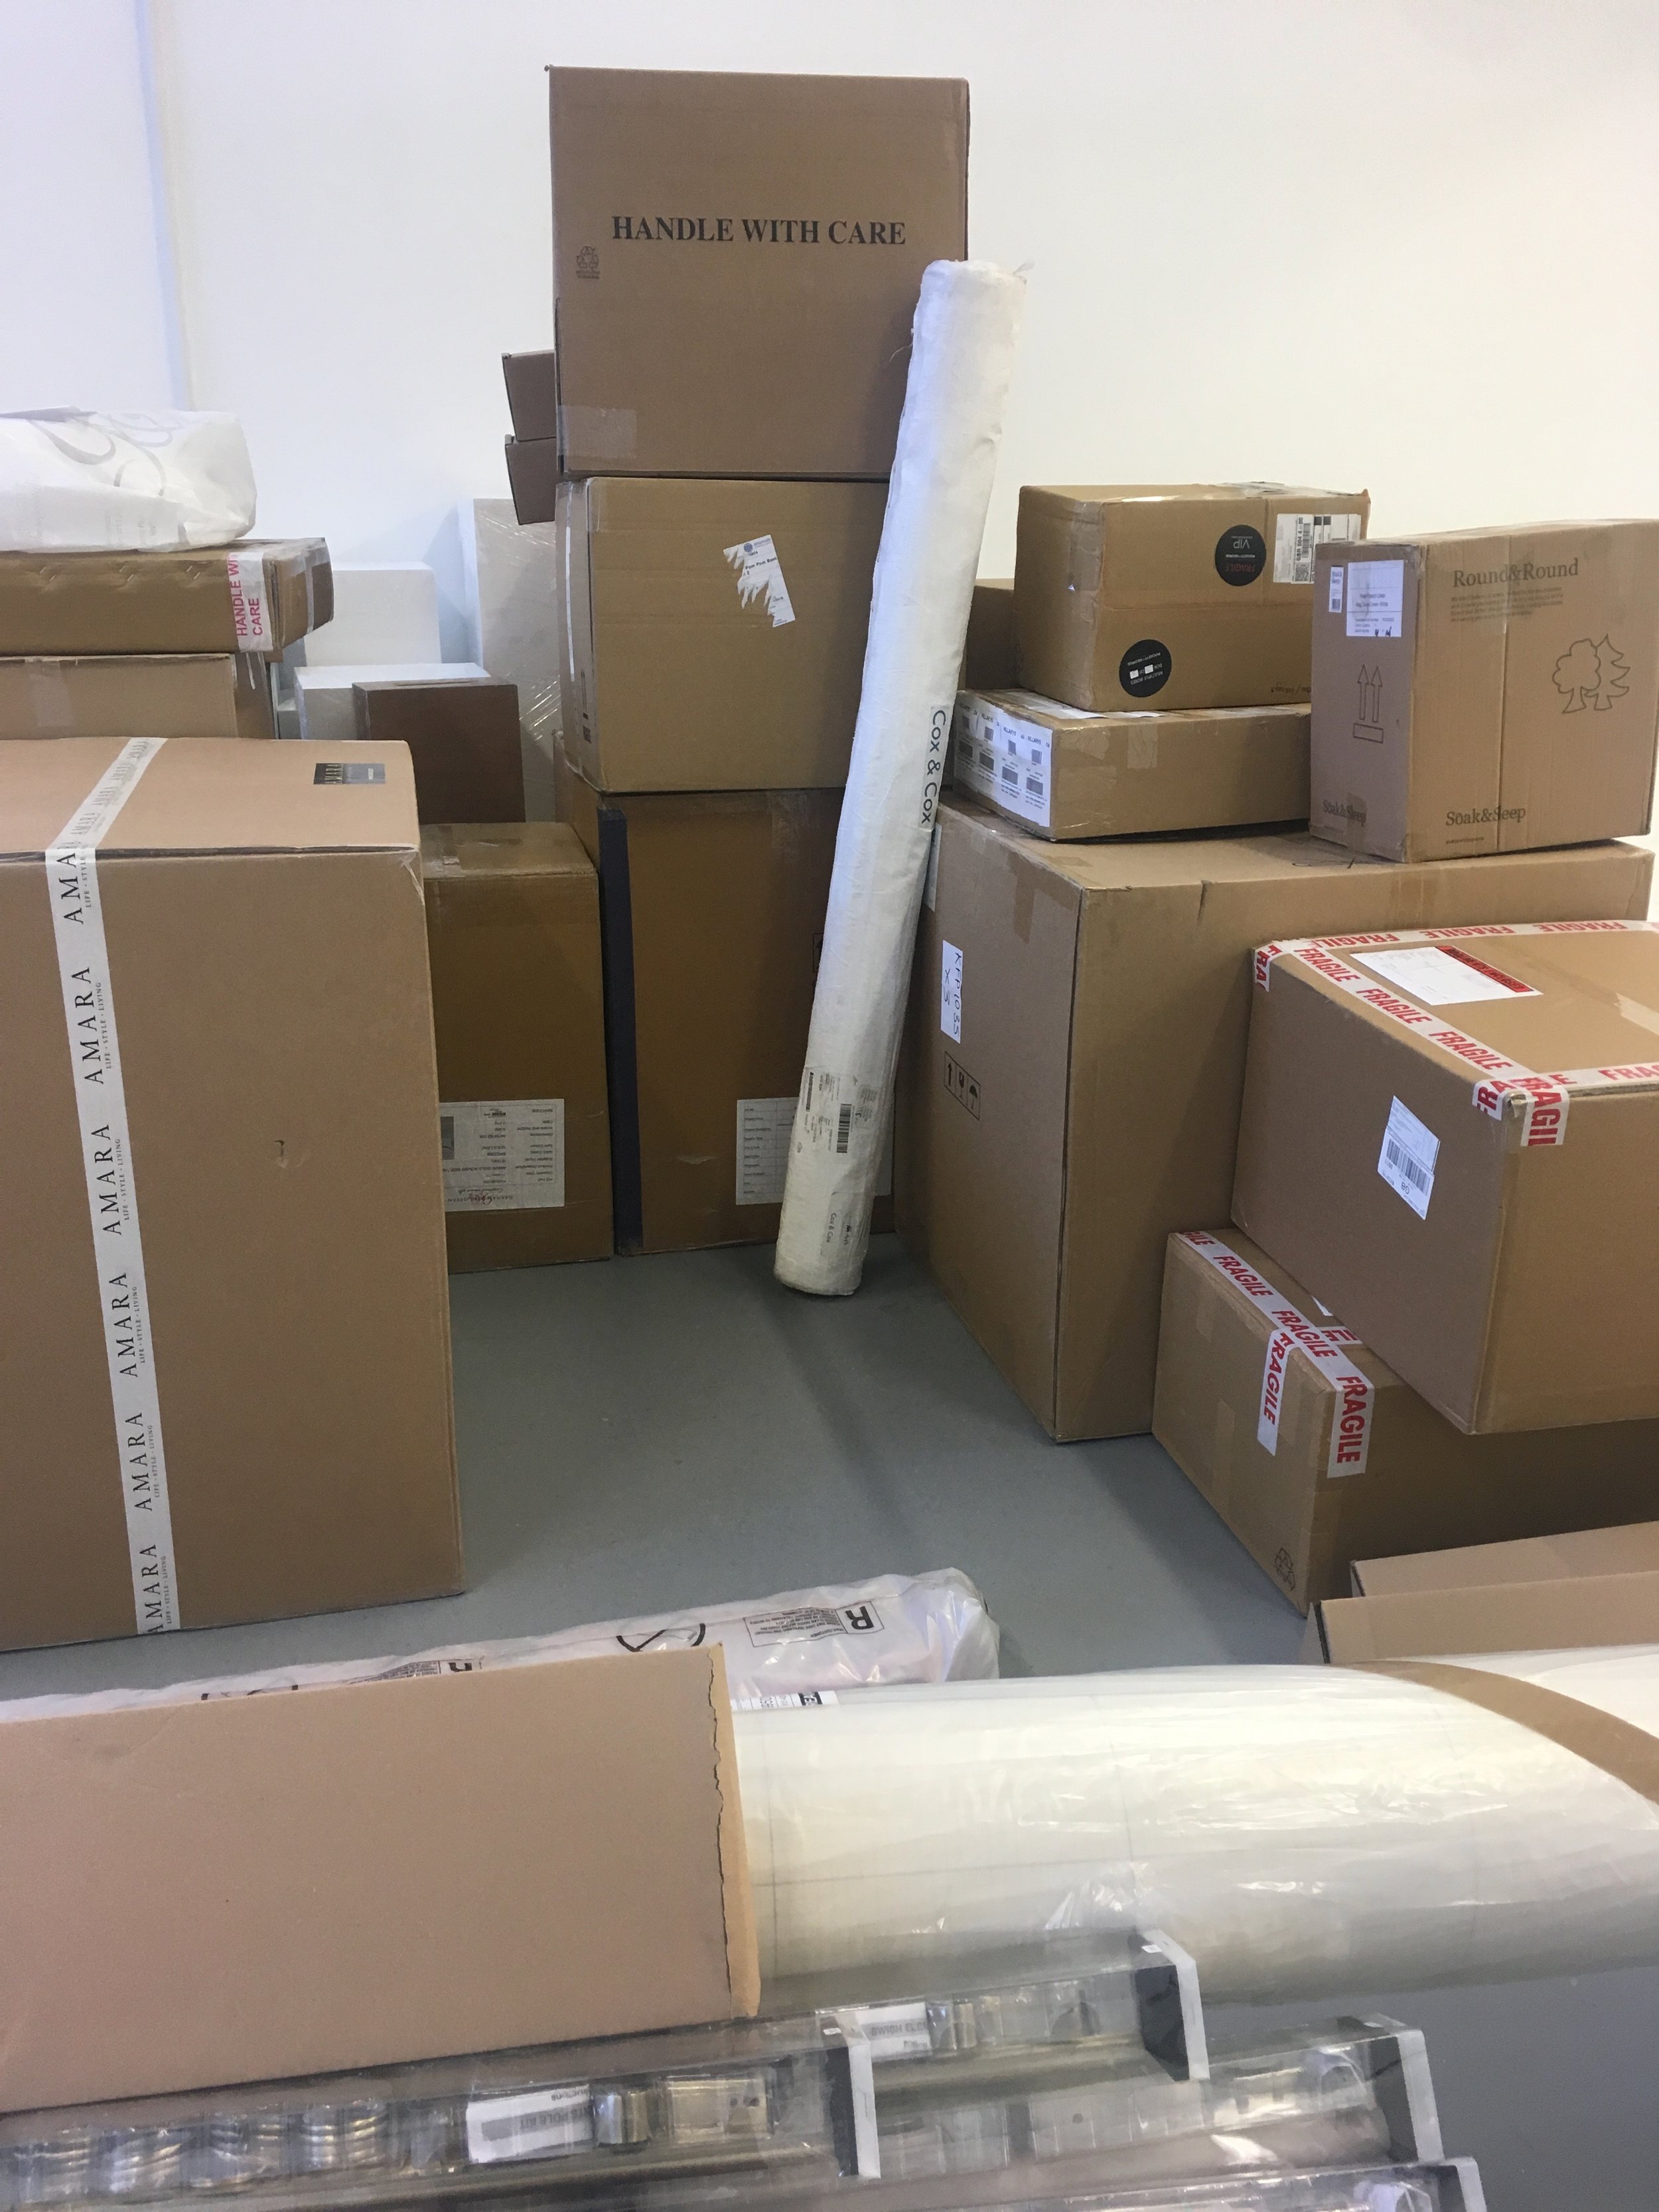
My first studio job was only a couple of weeks ago. I assisted the beautiful Antonia Mckenzie at Cloud & Horse for Hilarys Blinds. I can't say any more about the actual job as it's not published yet but all will be revealed soon! Below are some pictures that I took on the morning of the set build. There were so many boxes, some of which were bigger than me!! The first important thing I learnt of this big shoot was to have your own tool kit.
Your tool kit should include:
- Scissors ( A few pairs is always handy), Stanley Knife,Sharpies, Labels, Post-it notes/ Tabs, Tape of all kinds, A Camera, Notebook and Pens. There is probably loads more but these are the essentials.
Having these items will allow you to to just crack on with the job at hand instead of having to ask the stylist for scissors etc. The whole reason you are there is to help and make the stylists job easier and for the whole shoot to run really efficiently. It also gives you the confidence you need to just get on with the job too, being prepared, calm and organised is the magic combination.
Lesson two:
One of the first big jobs that you will be responsible for on set is to unpack and organise all of the props. When I say props this could be anything from a candle stick to a sofa, so be prepared to roll up your sleeves because honestly it can be pretty labour intensive. When you are un-packing you want to make sure you are using your precious tool kit to your advantage. It's super important that ever item that comes out of a box is labeled and documented. Don't forget to label the box too, you can write on the inside using a sharpie a short description of the item and even a small drawing might help. If you can't write on the box use a Postit note/ tab. This process may seem obvious/ tedious but it just means when you come to packing everything away it's super quick and efficient.
Lesson Three:
Use your camera to help you out. If you are working from a location (This could be someones home, a restaurant etc) make sure you go and do a walk around. You want to leave the location like you found it. Taking pictures will help you out everything to rights at the end of a shoot. You may be thinking oh that's not necessary but really, it is. After a long shoot it's easy to forget where different furniture etc was placed at the location.
It's also good to use your camera to document any damage of items when unpacking. Sometimes things get broken in transit which obviously isn't your fault, but you want to make sure you are covered incase you need to make an insurance claim. So, taking pictures will give you evidence and help with the process.
Another good thing to do on set is take 'Behind The Scenes" shoots. You can use these but also it's nice to get some snaps of the Stylist/ Colleagues in action. Talking from experience it's always really nice to get pictures of you working, they are great for social media and good content for your website.
The three lessons listed about are the first things I have learnt about how to be a good assistant. I'm sure that with every shoot I do I will learn more things and I want to share those with you.
If you have a project that you need help with, or need some advice on props, colour consultation please do get in touch, I will be happy to help. I hope you have enjoyed reading my blog post, any feed back would be much appreciated. Have a lovely day folks and thanks for reading.

